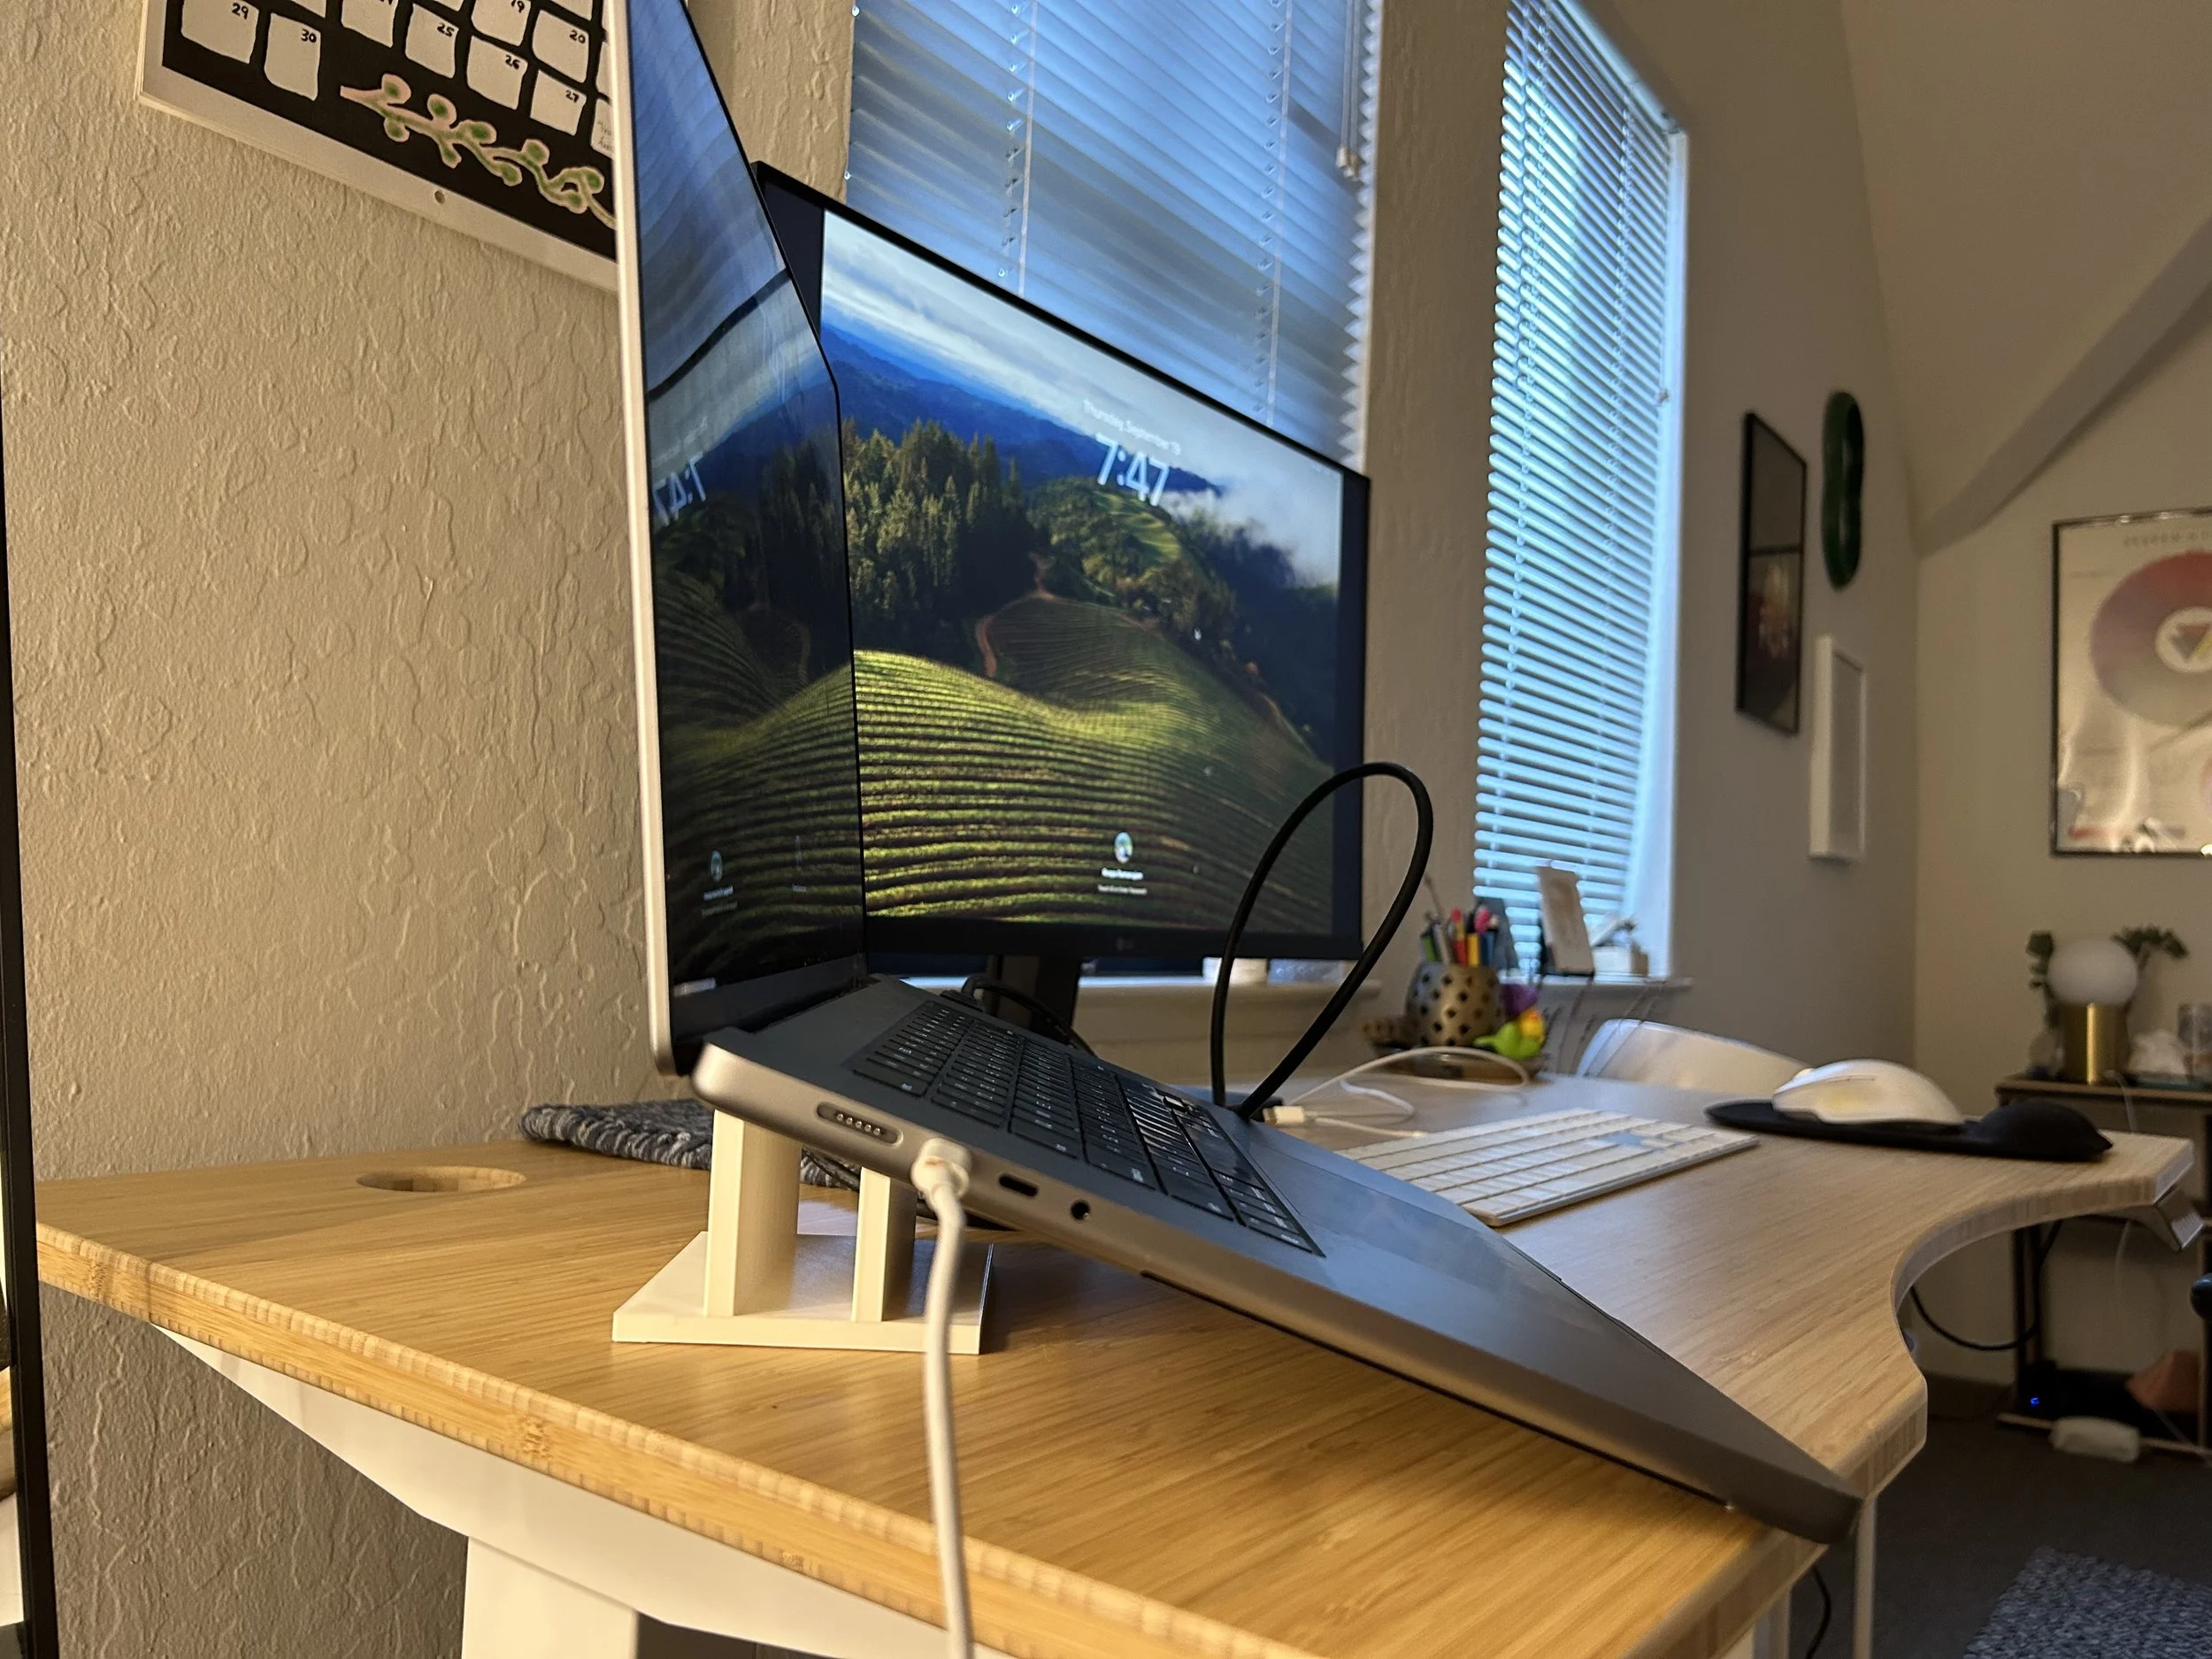
Laptop Stand
A dual-purpose laptop stand created through computational design.
UC Berkeley, 2024
Skills: Computational design, 3D modeling, 3D printing, sketching
Tools: Rhino, Grasshopper
I really needed a laptop stand.
My laptop was taking up room on my desk when it wasn’t being used as a second screen. Given my limited desk space, I wanted to design and fabricate a stand that could hold my laptop and iPad when closed, and support my laptop as a second screen.
Requirements:
hold laptop and/or iPad when closed
support laptop as a second screen
take up minimal room on my desk —->
don’t take too much time to 3D print!
Computational design was crucial to this project as I needed to model the stand parametrically in order to support multiple dimensioned devices.
Considerations
Physics/mechanics
I took inspiration from a laptop stand I saw online, with a “U” shape, that served both functions I needed in my own. From this, I made a couple of sketches of the intended final look. I also needed to consider the physics of the stand to be able to support the weight of multiple devices without tipping over, so I drew a force diagram to check feasibility.
Ergonomics and human factors
I also wanted to consider human factors and ergonomics in the design of the laptop stand. The ideal angle for a laptop as a primary or secondary screen is shown in the diagram to the right, and this was something I needed to keep in mind during my design process.
I started with a basic model in Grasshopper/Rhino that looked similar to my sketch above. I also modeled my laptop with parametric dimensions and a center of gravity point in order to gauge whether the stand was adequate in dimensions.
With the ergonomics considerations mentioned above, I decided to make each leg of the stand usable as the point for the secondary screen, to accommodate different screen heights.
This iteration took WAY too much time to 3D print (about 12 hours!). Given the fact that every additional hour of a print means an additional point of failure, I decided I needed to design something that took less time to print.
Iterations
My second iteration solely focused on reducing print volume. I modified the original design to cut some volume out of it geometrically. This iteration only took about 6 hours to print (50% reduction in time).
Outcomes/Reflections
Through this project, I learned how to use human factors analysis, fabrication analysis, and computational design to design and print a dual-use laptop stand for my own needs. I learned how to effectively observe a problem space that would benefit from computational design. I learned how to design a system that would allow me to create parametric designs that could also quickly be evaluated for human factors and fabrication. I quickly got up to speed on 3D modeling software (Rhino and Grasshopper) as well as 3D printing. I also became more familiar with each step of the design process of Observe -> Design -> Test -> Iterate.
A very happy camper using her laptop stand!


